
For this photo assignment I took panographic pictures. Here are my results:
Duplicate Style
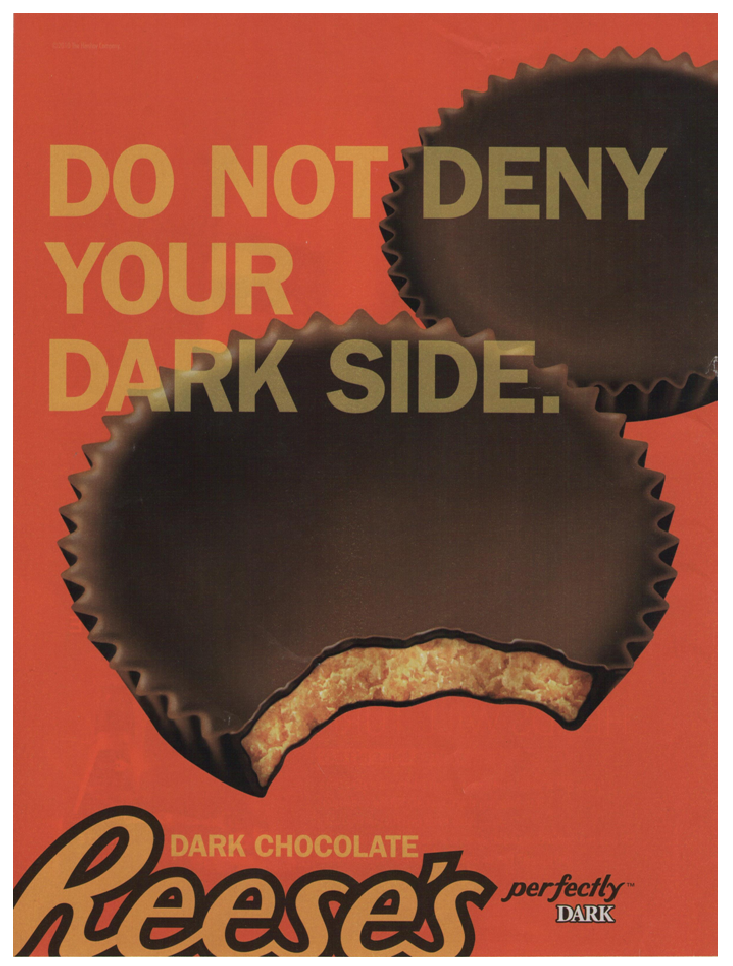
For this assignment we had to find two ads online and duplicate the ad in photoshop with our on photos.
Portraits
For this assignment we were required to take two types of portrait photos- outside the studio and inside the studio. Here are my best two portraits:


Photo Assignment #5: Event
This week I attended a golf match where I took pictures for my next photo assignment. Taking Pictures of a sports event can be somewhat difficult due to the fact that the players are always in motion. I needed to have a fast shutter speed to freeze the motion of their swing but it was also really sunny so that limited how fast I could make it. In the end I think I got some great pictures:
Best Photo:
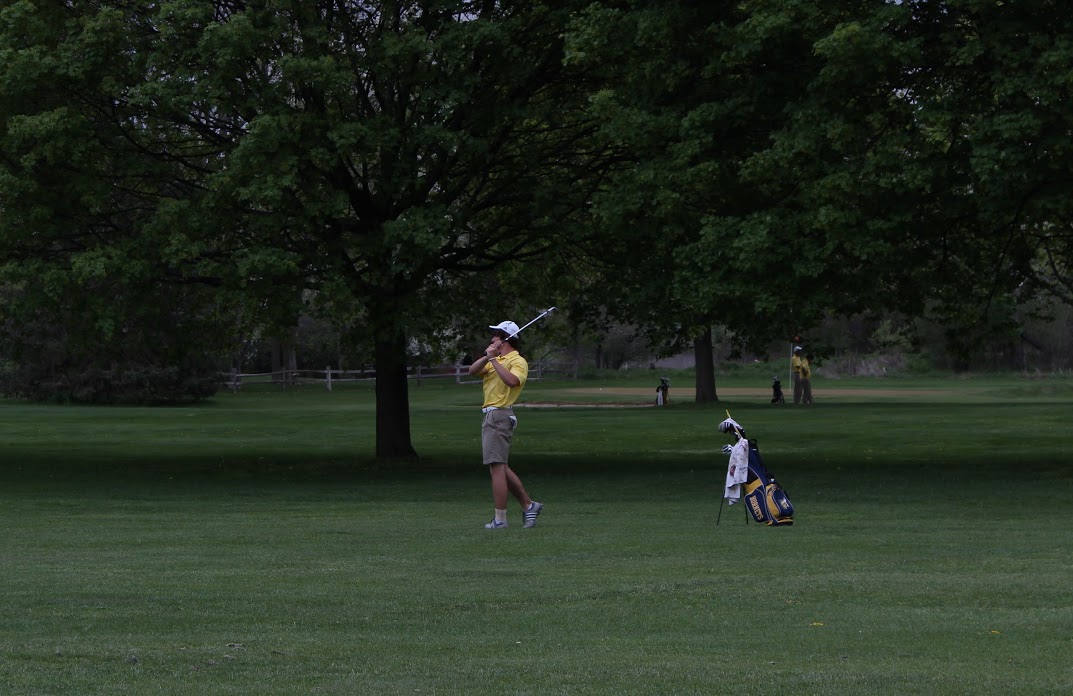

ISO: 100
Shutter Speed: 1/250 sec
Aperature: f5.6
To edit this picture all I did was adjust the levels and add a frame to give it a more completed look.
Panographic
Panographic pictures are essentially a collage of 20-30 pictures. These pictures can be put together by hand or you can use photomerge to merge them together. I really enjoyed doing this assignment because I like the finished product, however, it was difficult to accept that not every picture is going to line up perfectly. Here are som examples if you still don’t understand what they look like.
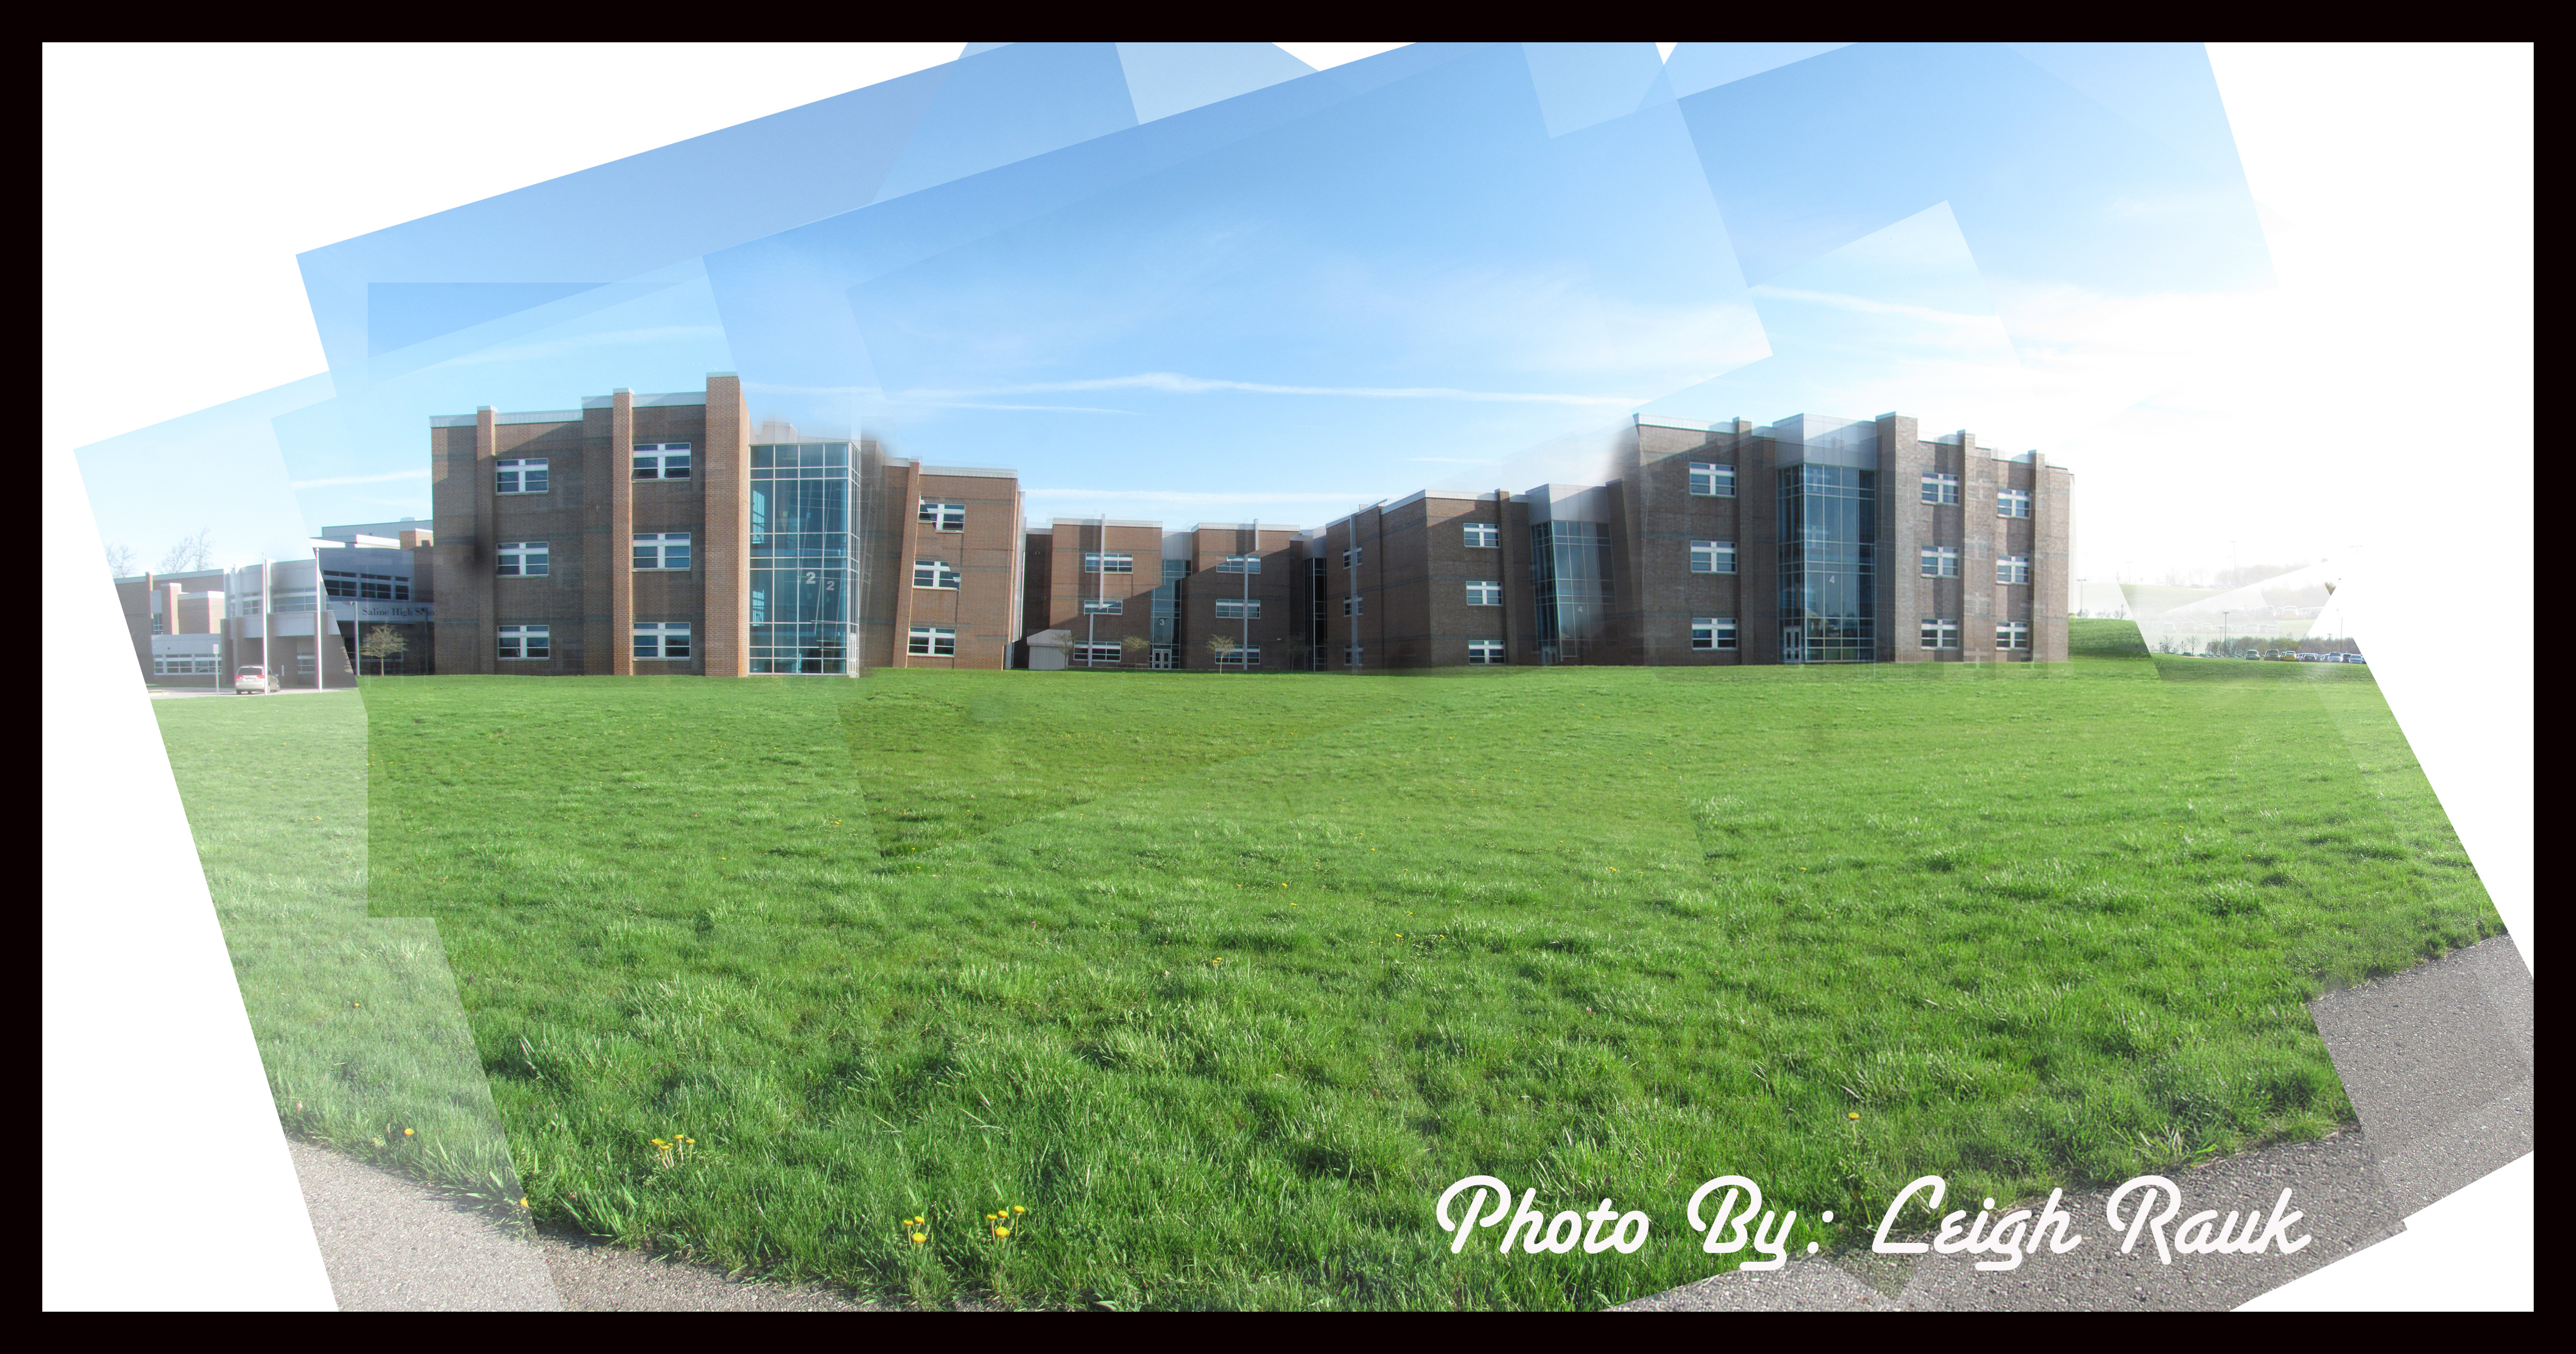


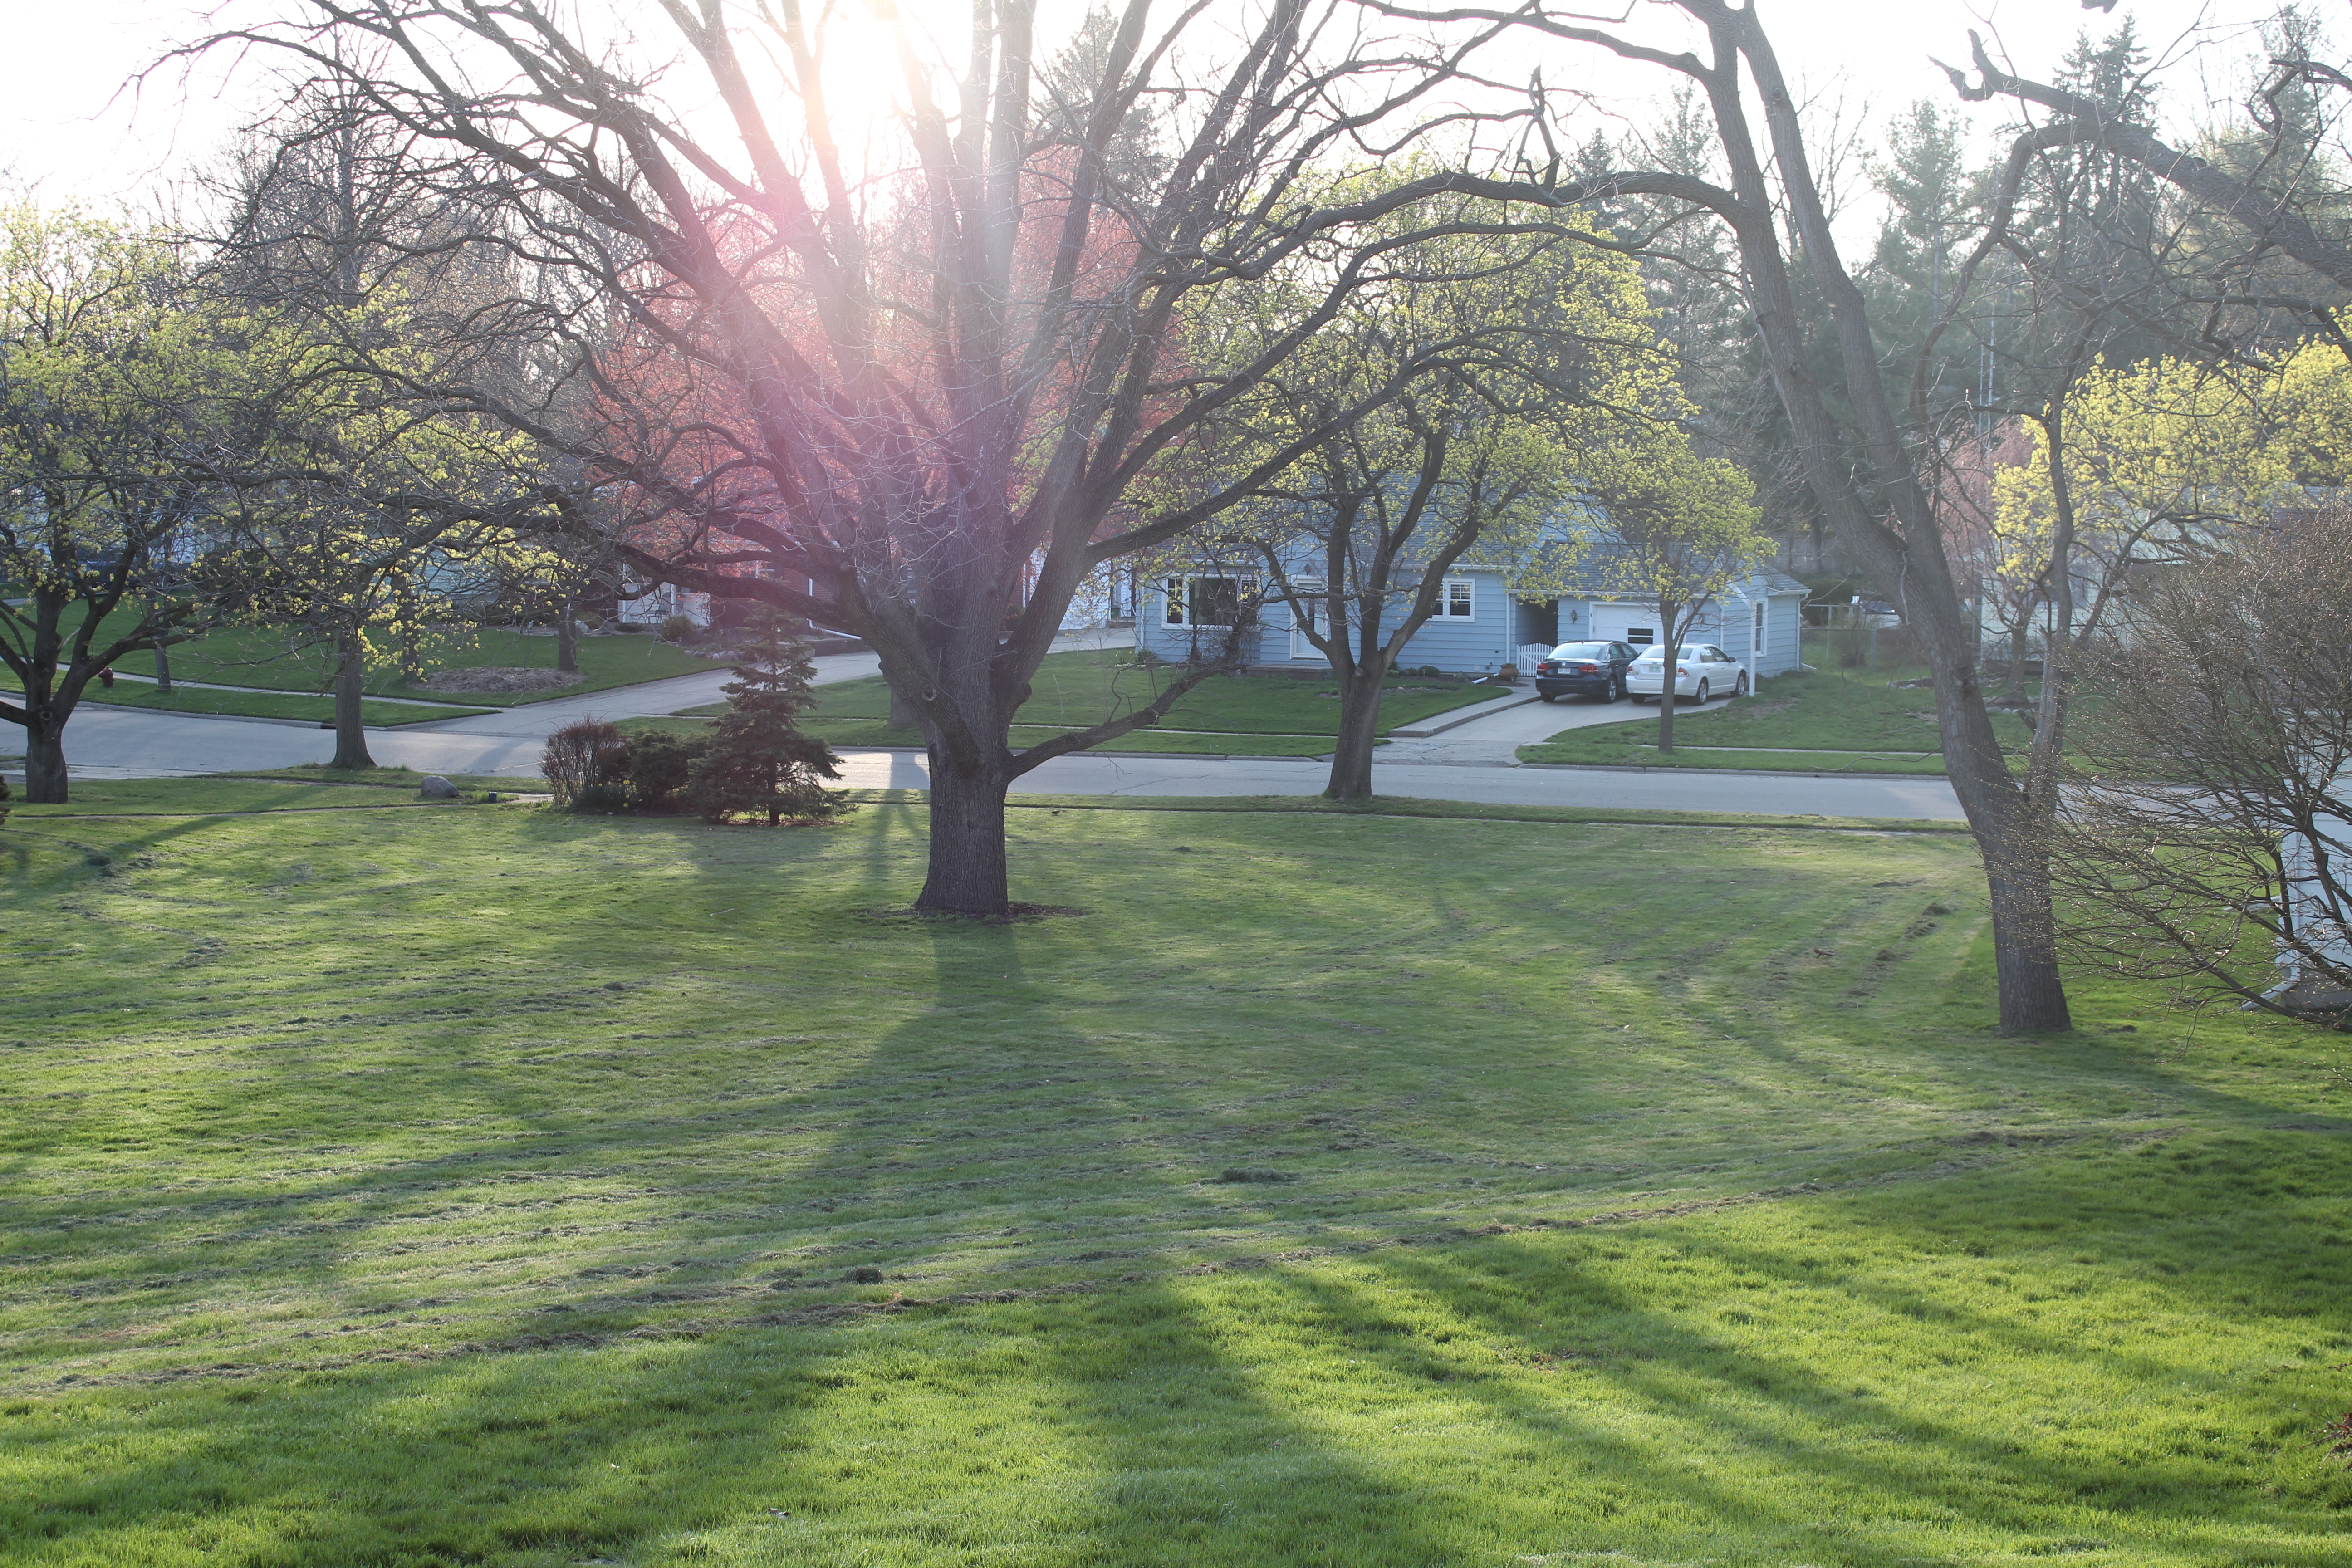
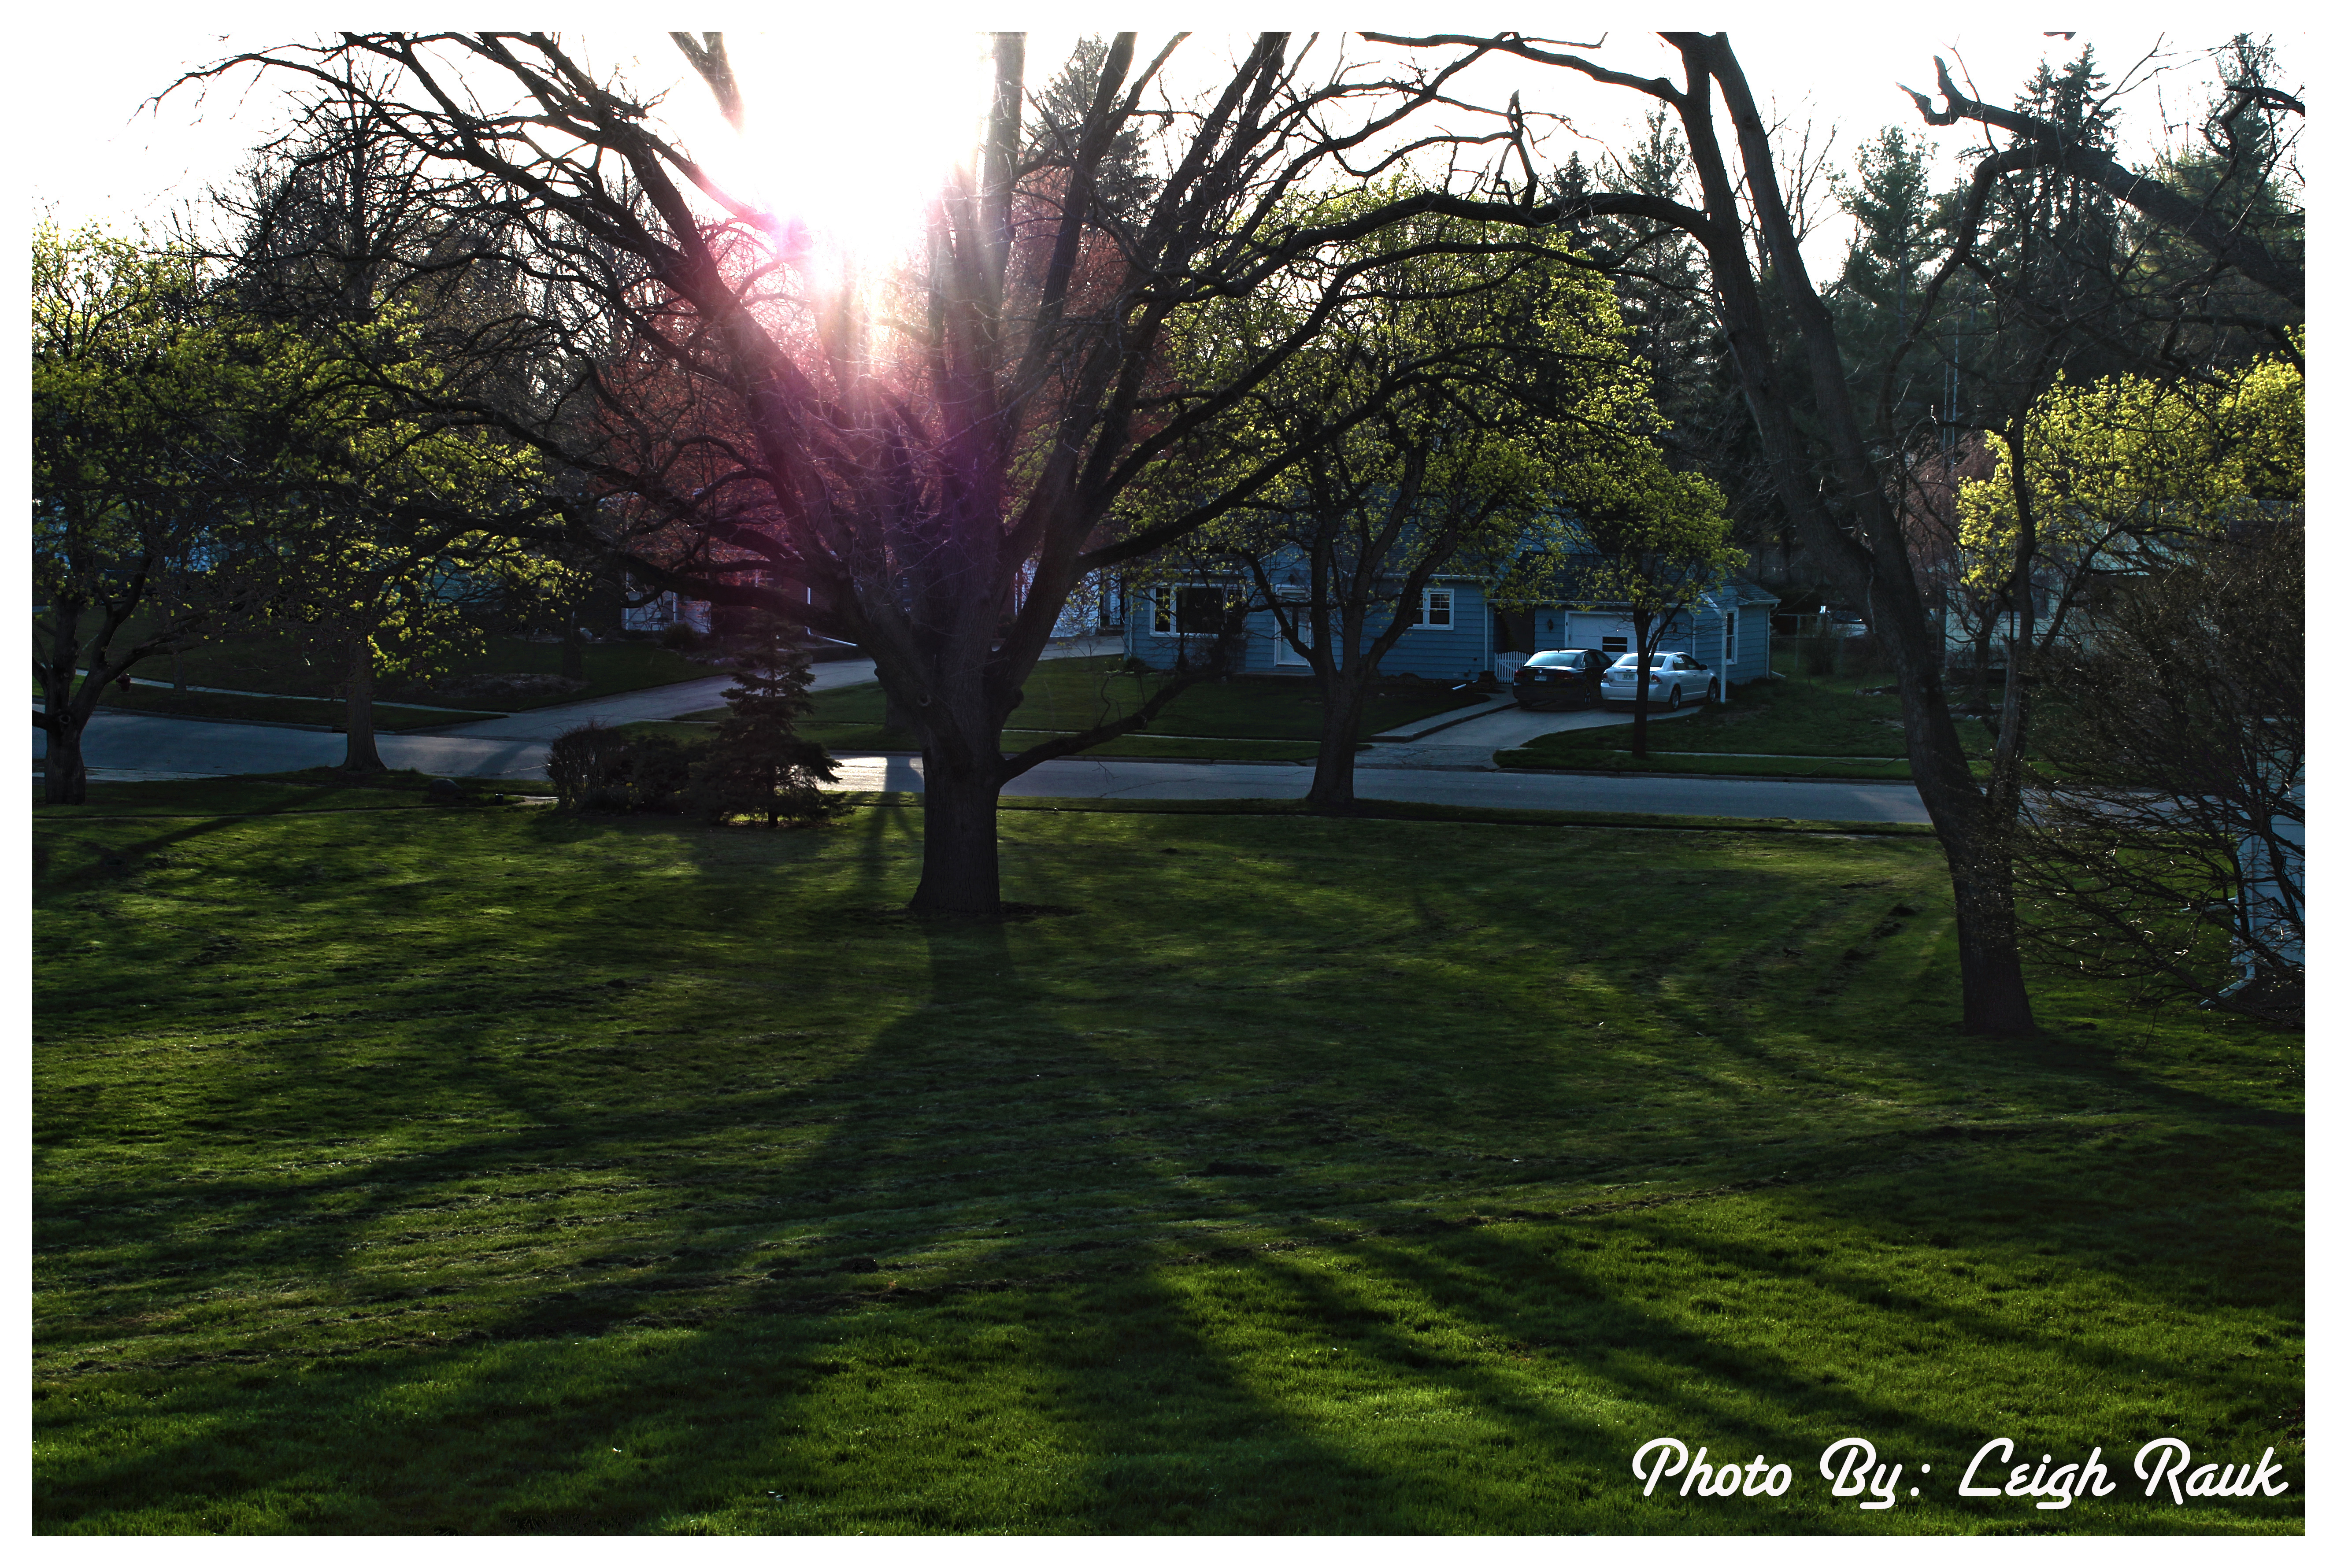
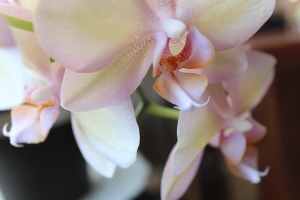
Photo Assignment #4: HDR
For this photo assignment I shot HDR (High Dynamic Range) the point of this type of photography is to capture all of the different exposures into one photo. To do this you take 3 pictures, one at the correct exposure, one under exposed, and one over exposed. Then you take the three pictures and merge them together in photoshop which should give you a picture that looks how your eye would see it. Here’s my best before and after:
Before:
After:

After I merged the photos together in photoshop all I did was adjust the saturation to make the flowers a brighter pink, add a frame, and put my name on it. For taking HDR photo’s it’s important to use a tripod so that you don’t get ghosts in your picture.
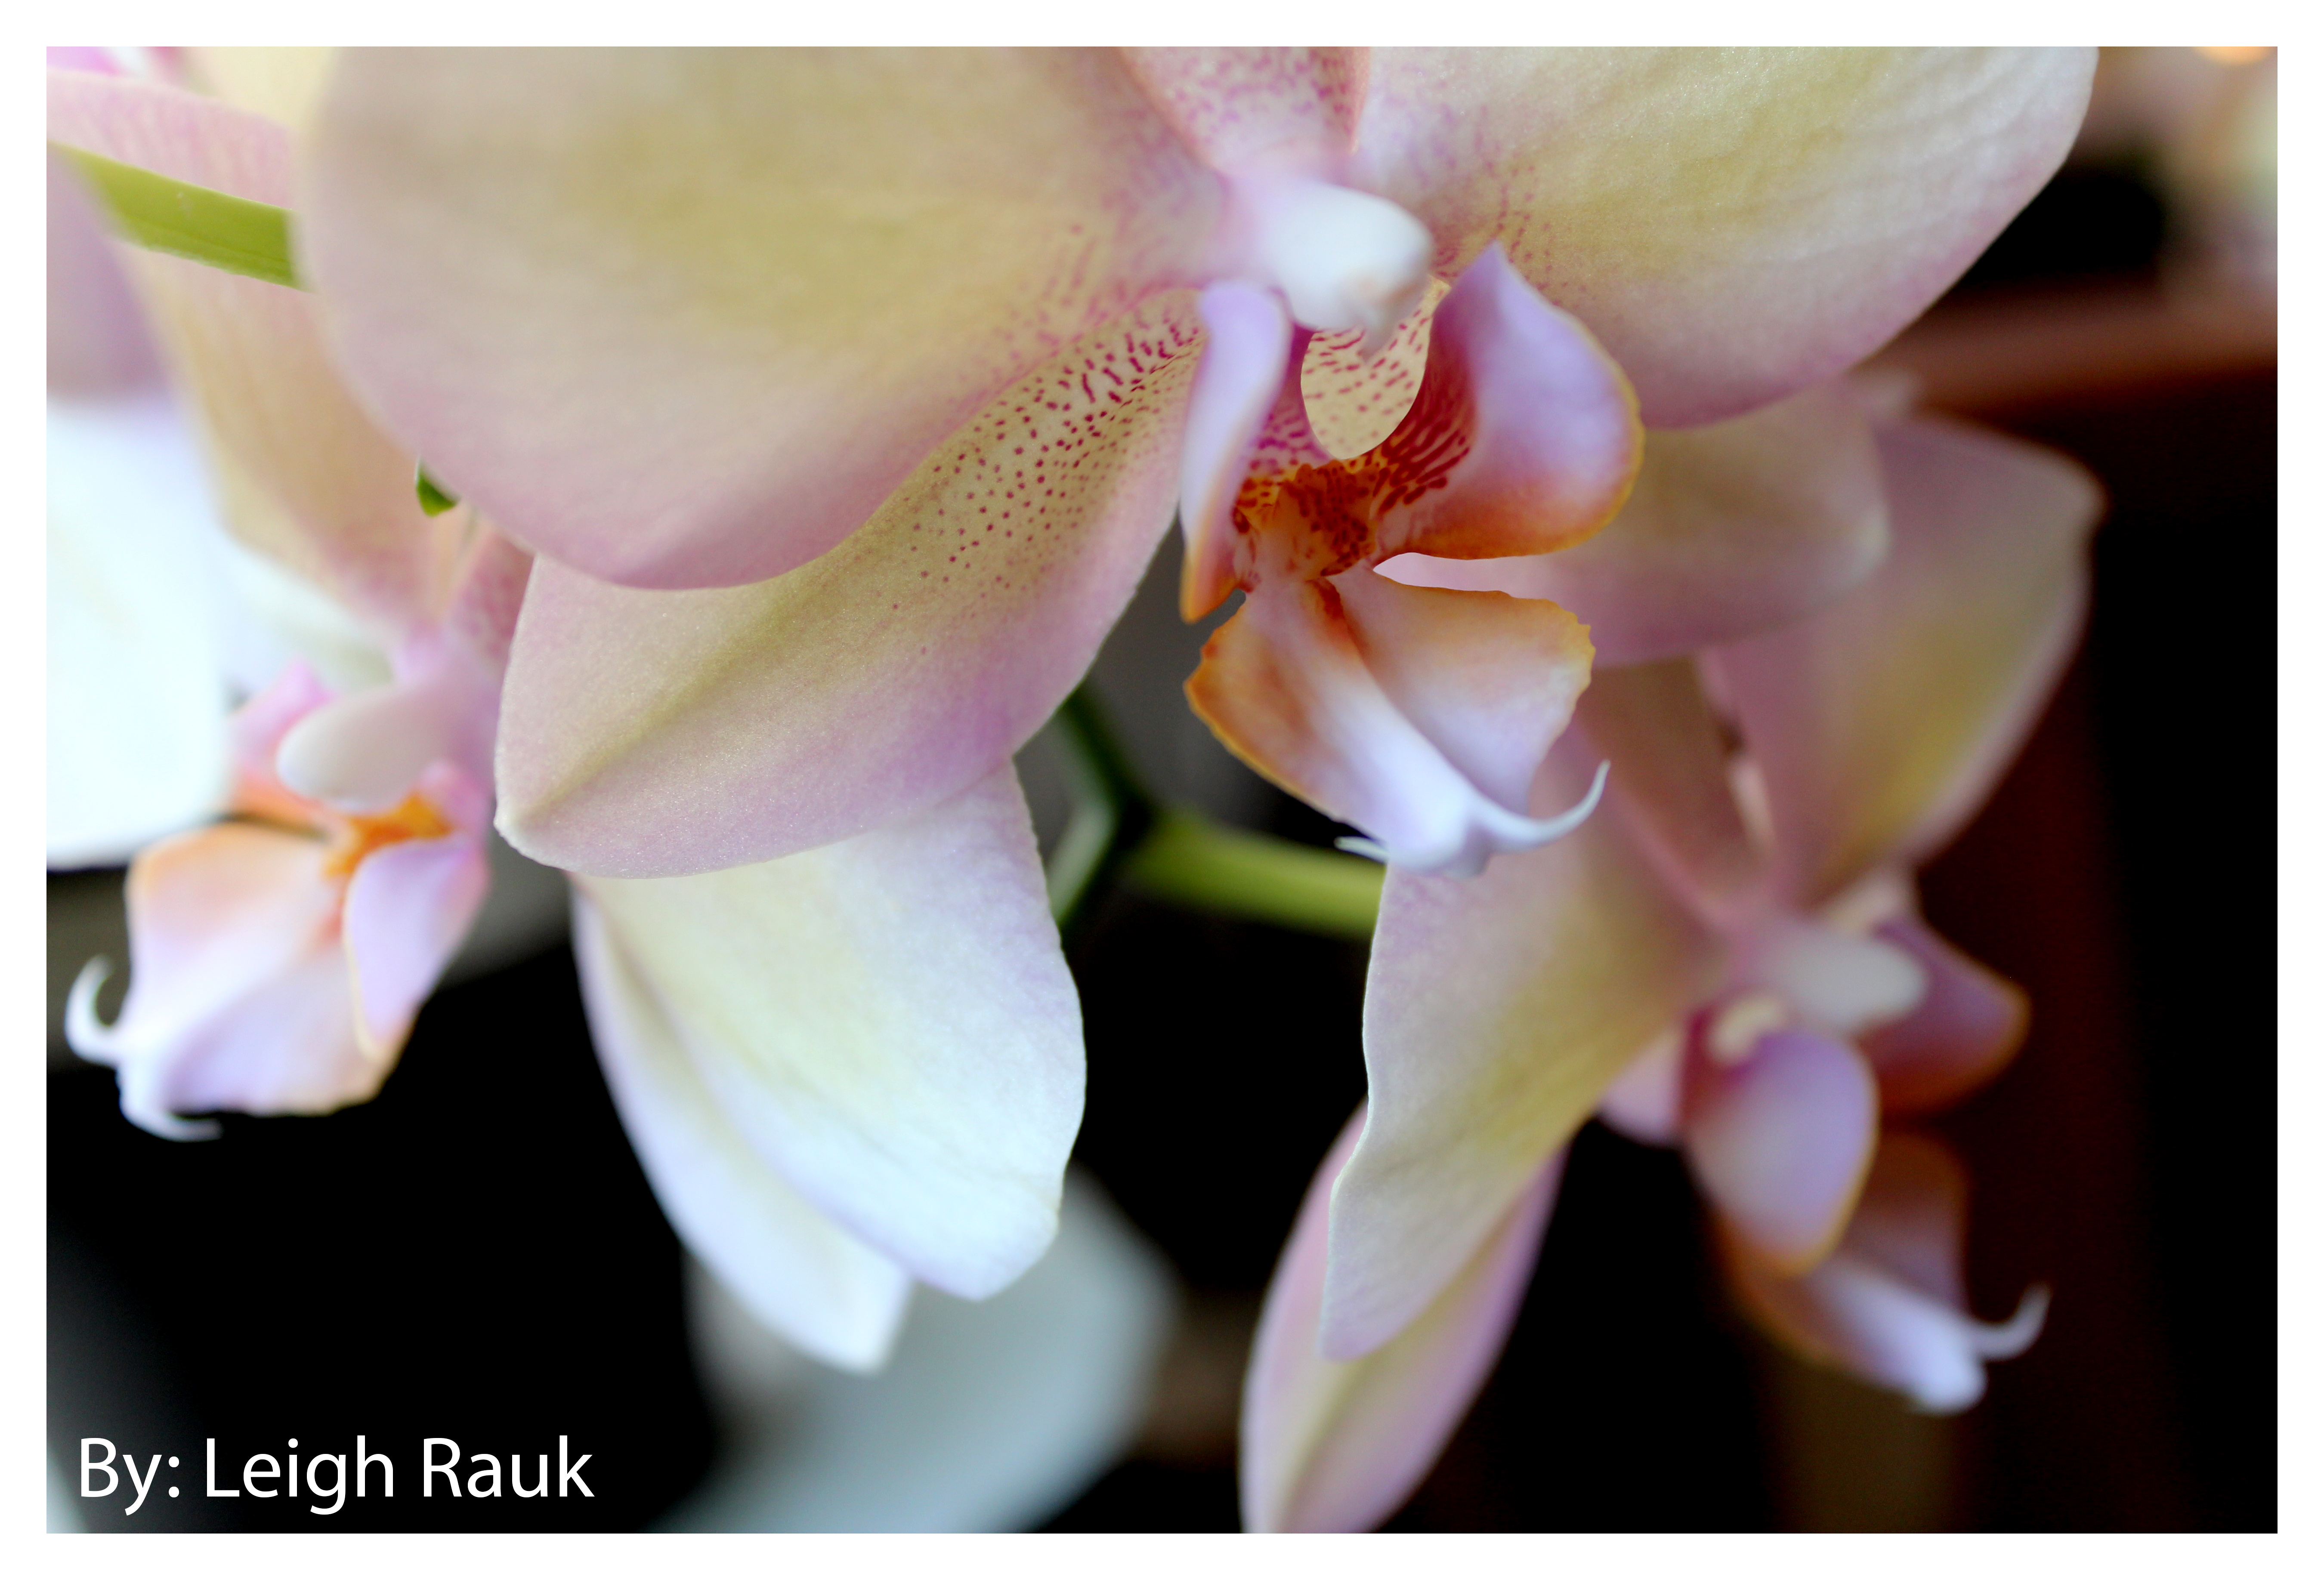
High Dynamic Range
High Dynamic Range or HDR is a type of photography that is used to capture all the varying degrees of light and color in a photograph. A camera cannot physically capture all of this in a single shot to achieve the look you take 3 photographs. One under exposed, one at the correct exposure, and one over exposed. When you put them together in photoshop you get a picture that captures what the eye really sees. Here are my best two:
Before:
After:

Before:
After:
For these two pictures I combined the three together and adjusted the settings and added a frame to get the look I wanted. Here are a few more:
While taking HDR photos I learned that it is important to use a tripod. Also you should photograph areas with a lot of light and color so your picture doesn’t end up looking dull.
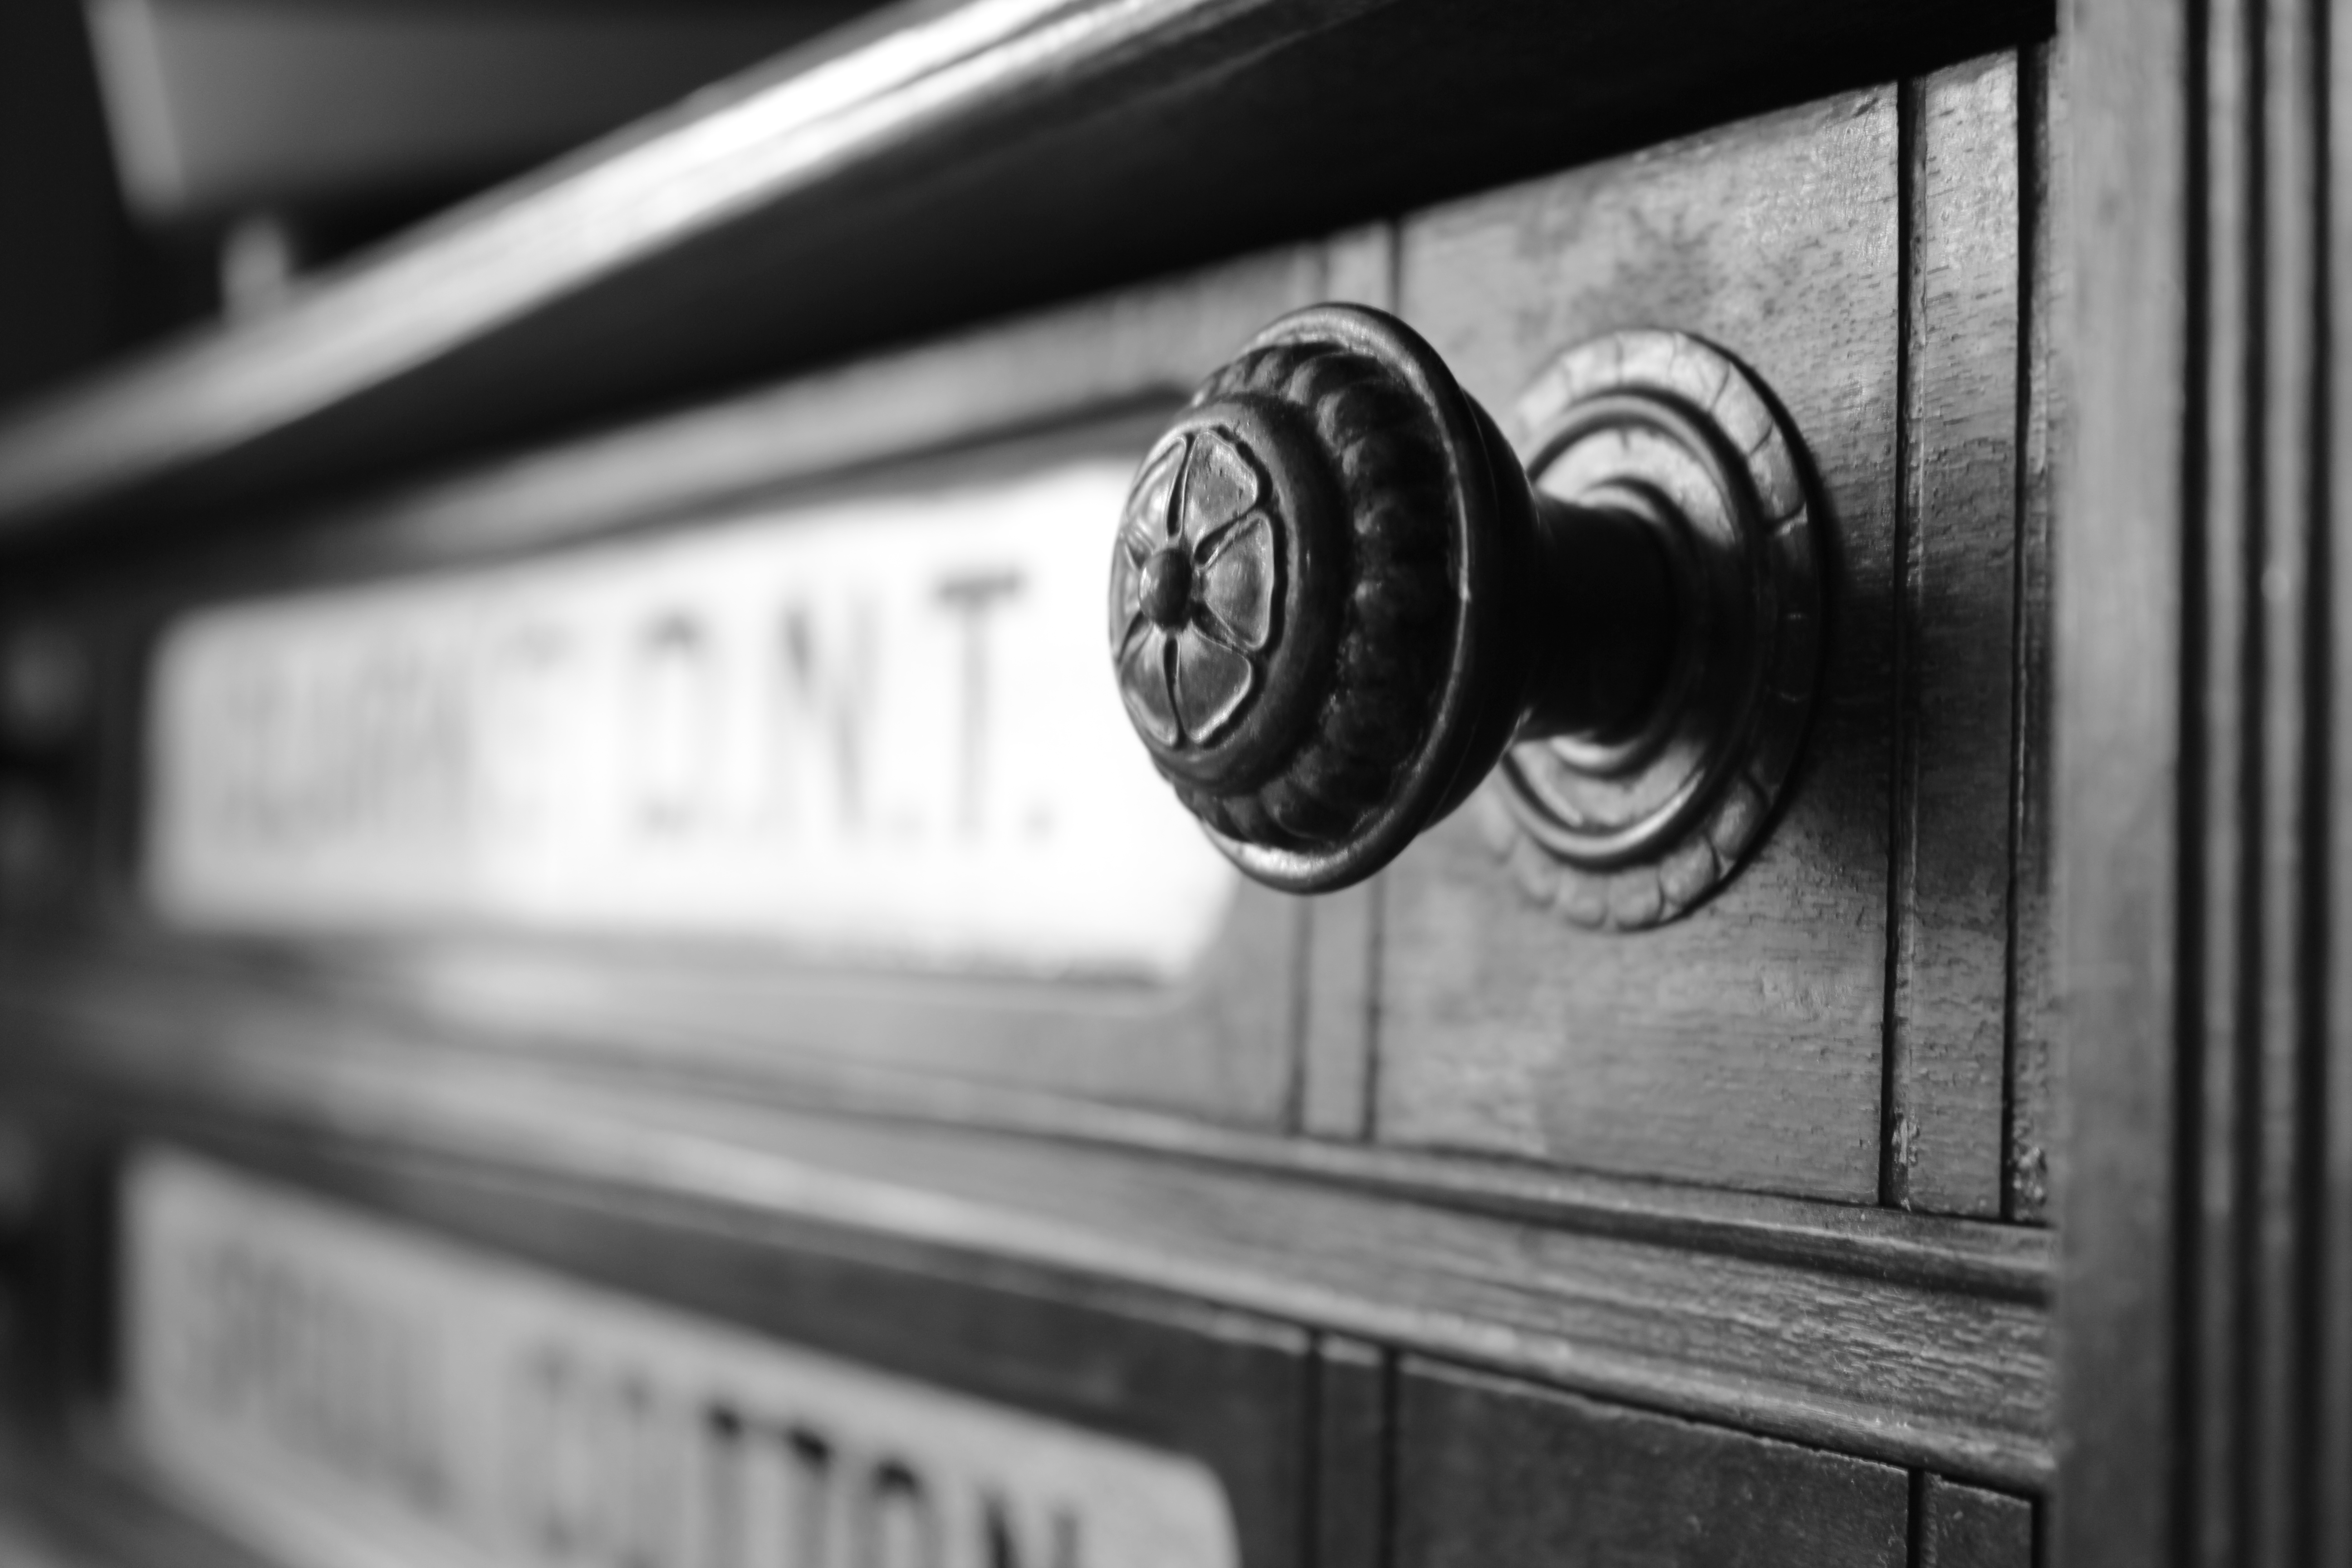
Photo Assignment #3: Black and White
For this weeks photo assignment I shot black and white photography. I really enjoy black and white because it creates a classic looks that shows great contrast between the object and it’s background. This is always my favorite format for taking pictures. Here is my best before and after:
Before:
After:

Iso: 100
Aperature: f4.5
Shutter Speed: 1/4
To edit this picture, all I really did was adjust the levels to increase the contrast and added a white frame and my name to the picture.
Taking black and white is always difficult because you want to be sure and shoot something that is going to create a lot of contrast because if your don’t have a lot of contrast for your black and white then your picture will fall flat.
Photoshop Composite
This week’s assignment was to create a composite of pictures that represent us. The first composite is what represents us now and the second composite is what we think will represent us in 10 years. In photoshop, to create these composites, I used layer masks, erasing, and opacity to make the pictures fit together. By blurring the edges of the pictures brought into the background, it creates a more unified look.
Composite 1: Composite 2:


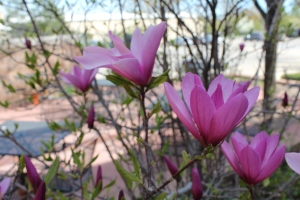
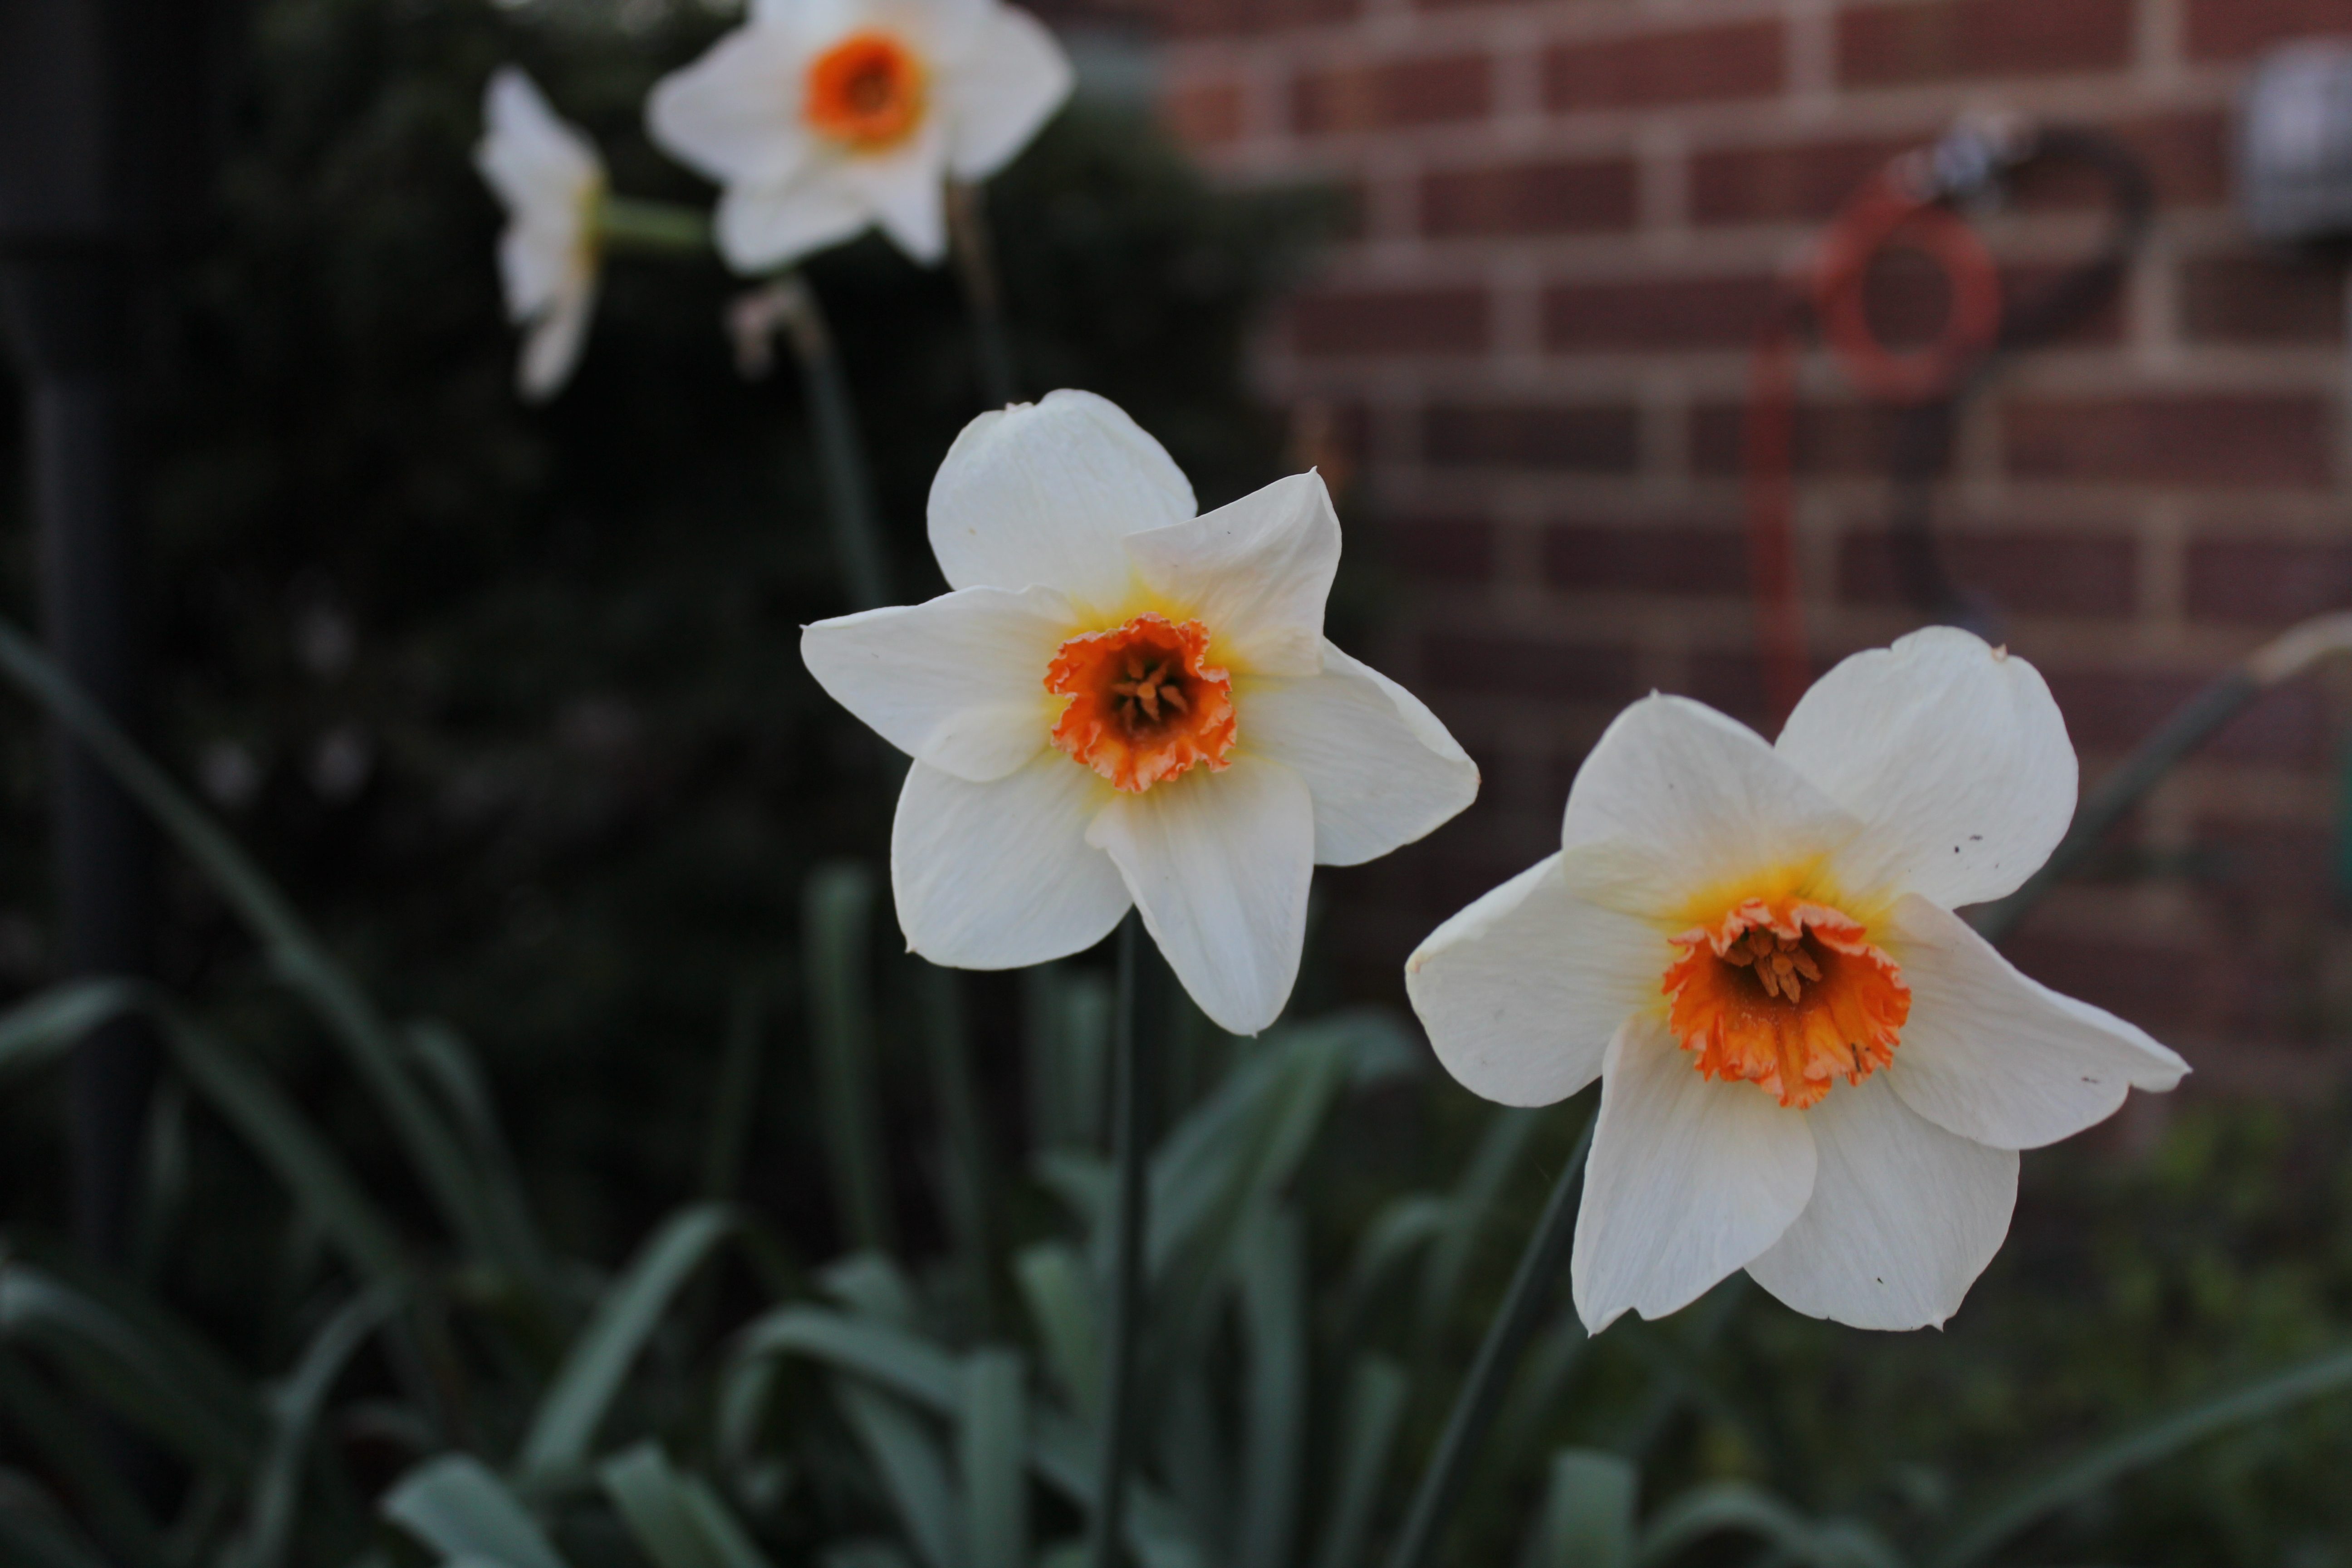
Photo Assignment #2: Macro
For this photo assignment I took macro pictures. Macro pictures are when you focus on an object, blurring the background so that only your object of interest is in focus. This puts an emphasis on just one thing. Here is my best picture before and after:
Before:
After:
For my best picture I adjusted the levels, added a white frame, and put my name on the picture.
ISO: 320
Shutter Speed: 1/50
Aperature: 4.5
Here are my other 10 photos:
Taking macro pictures allowed me to practice manual focusing and how to get close to an object. It’s difficult shooting macro because sometimes I wanted to get closer to the object, but if I got too close then I wouldn’t be able to keep the object in focus so there were times where I just had to crop the photo to get the look I wanted.
